I got a lot of positive feedback regarding my last post on the cost of living in Portugal. Repeatedly people commented that they appreciated our willingness to share our finances. So I did write a post documenting exactly what we spent to transform our home into what it is today.1 However, I’m not sure such “full disclosure” benefits most of our readers. So instead…
Let’s Compare
Today I share with you what I have learned about traditional Portuguese building practices and the more modern approach … the type of renovation that converts old buildings into multi-unit apartments.2 If you have been following our project you know that the order in which tasks were completed and the methods used were all new to us. For example:
I expected them to open up a hole in the front and drive in a small “bobcat” to excavate the site. Instead, they removed 28 truckloads of debris and dirt from the site one wheelbarrow at a time. No wonder demolition took 4 months!
It seemed reasonable to me that they would waterproof the roof early in the process…instead, they waited till month 7 (which happened to be one of the few months it actually rains in the Algarve).
They didn’t install exterior windows and doors until after the interior plaster was applied. Finishing the interior walls before you “closed up the building” … well that’s just weird!
I find that many of the multi-unit renovations still utilize some of these approaches. However, often the materials used are very different which provides cost and time savings. I have no way of judging the quality (the third leg of the project management triangle). So, I am not suggesting that one approach is better than the other…just different.
Permit me to Rant
Before I go on, I just need to take a moment to rant. You see I dreamed of finding an old building with original 19th century architectural details. Tall ceilings … beautiful Pombaline ceilings … molding on the wall … gorgeous old wood floors.3 Instead, we found an old union hall. Yes, it had 4-meter ceilings … but that was about it. So when we decided to utilize a modern aesthetic when finishing the home I didn’t feel any pangs of guilt. However, when I roam around many of the construction sites in VRSA I want to scream “NO”! Since they have 12’ high ceilings, they run electric and plumbing over the beautiful original floors and then build a new plywood subfloor. They drill screws into the magnificent Pombaline ceiling to hang a new drywall ceiling. In many cases, they attempt to fool you by keeping the original marble stair treads and azulejo risers as you enter the building…but we are not fooled! They create white and gray boxes devoid of soul. Damn them…
Speaking of Dry Wall
Back to the subject at hand…the first major difference I have found in building materials is drywall. When our building was renovated they applied 3.5” of hard installation, then built a 4.5” brick wall onto which 1” of plaster was applied. This is the traditional approach. However, most of the multi-unit renovations will instead utilize aluminum stud framing covered by drywall. Certainly much cheaper to install and much faster! It also has the added benefit of being much thinner…perhaps allowing the developer to squeeze in one more apartment. (Insulation can either be installed before the drywall or can be blown in.) While our house is likely a bit quieter…it is a bitch to hang a picture.
Give me Steel
The second major difference I learned was the use of concrete and rebar rather than a good, new-fashioned steel beam. You may recall early in our design process we decided we needed to move a pillar about 3 feet and wanted to move an interior wall about 18” to make our bedroom larger. The engineer said, “No”. Our architect and I said, “It can be done…it is just a matter of money.”
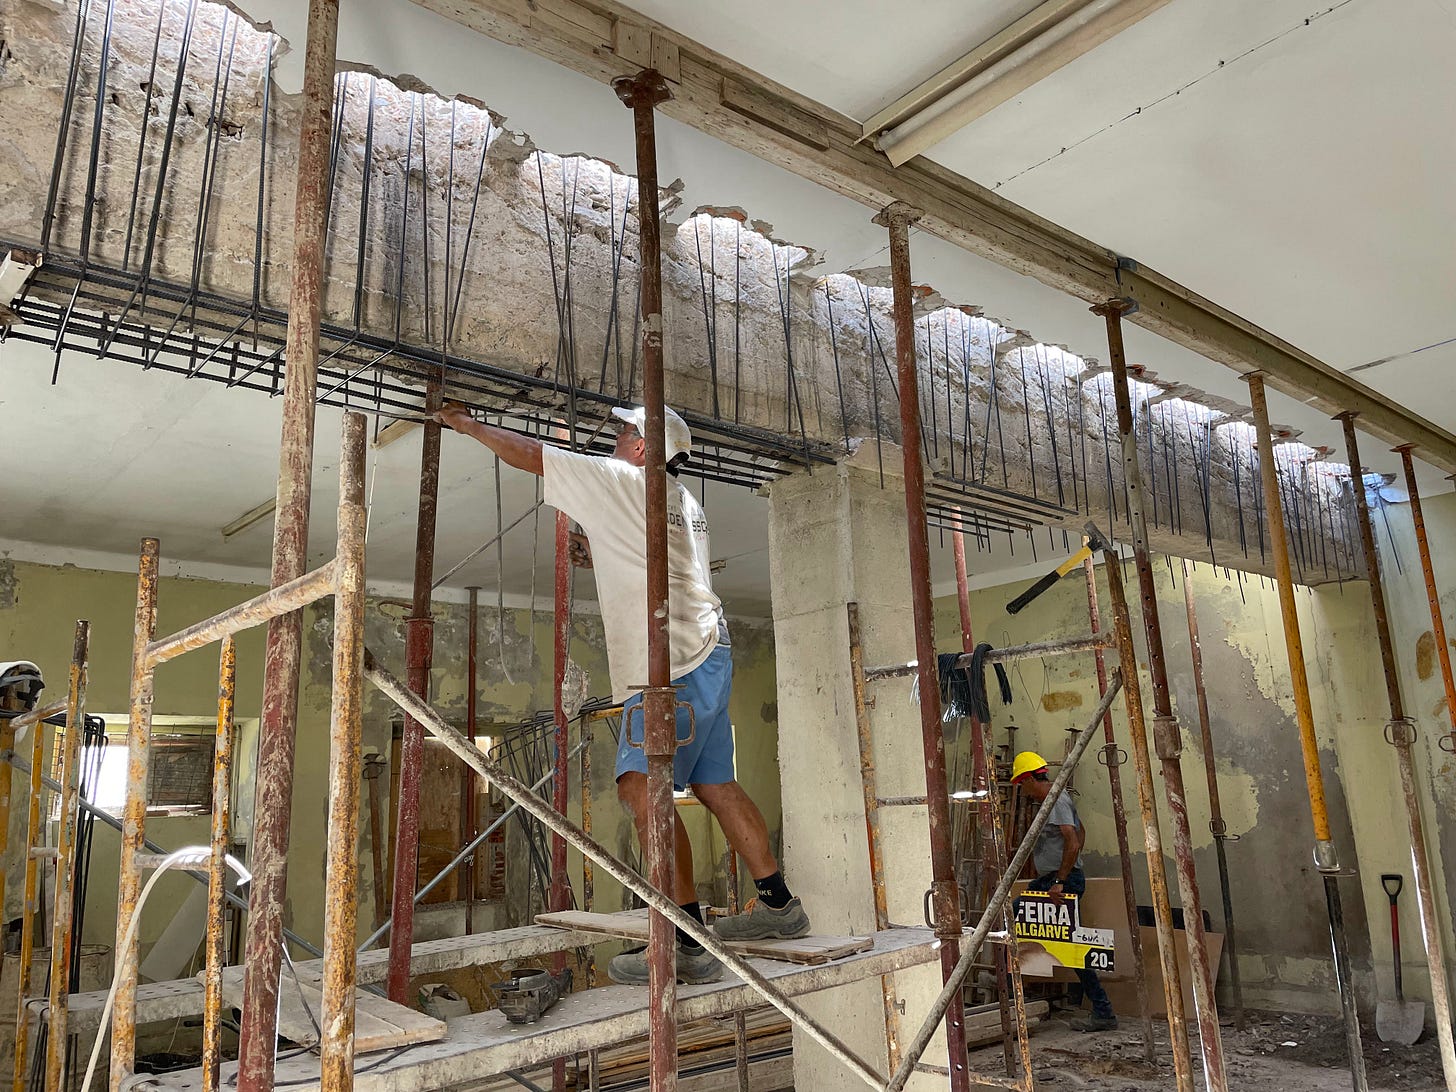
I assumed they would install a metal beam, but no. Instead, to move the pillar, over the course of a few weeks, they dug a hole and then placed the walls of a wooden box in the hole. They installed long rebar and then filled the box with concrete. A few days later, another box was placed on top and they filled it with concrete. This continued until they reached the beam above.
They then broke holes into the roof on either side of the beam and placed rebar “U’s” from above and below. These were placed every 4-6” and tied together with wire. A wooden box was placed around the rebar-wrapped beam and filled with concrete. What took several weeks and a lot of concrete and rebar could have been accomplished in a day with a steel beam or two.
According to a study, (a) typical steel frame structural system can save 5% - 7% cost than (a) reinforced concrete system. As we all know, steel has very high strength. Compared to concrete, steel is eight times stronger in terms of tension and shear forces. — LinkedIn
In this case, I believe the newer approach makes more sense. In fact, our realtor is renovating an old building to make it into his “forever home”. Recently he excitedly told me about the steel beams that are being used in the renovation. His GC is his wife. Our builder was only comfortable using a more traditional approach.

The Math Meeting
The third difference I will highlight is more of a process than a material issue. It is what is called “the math meeting”. Friends who had built custom homes in Portugal had told us to expect a “let’s do the math” meeting once the house was completed. And true to form, José João sent me a text a day or two after we moved in that said, “Precisamos de nos encontrar para rever a matemática.”
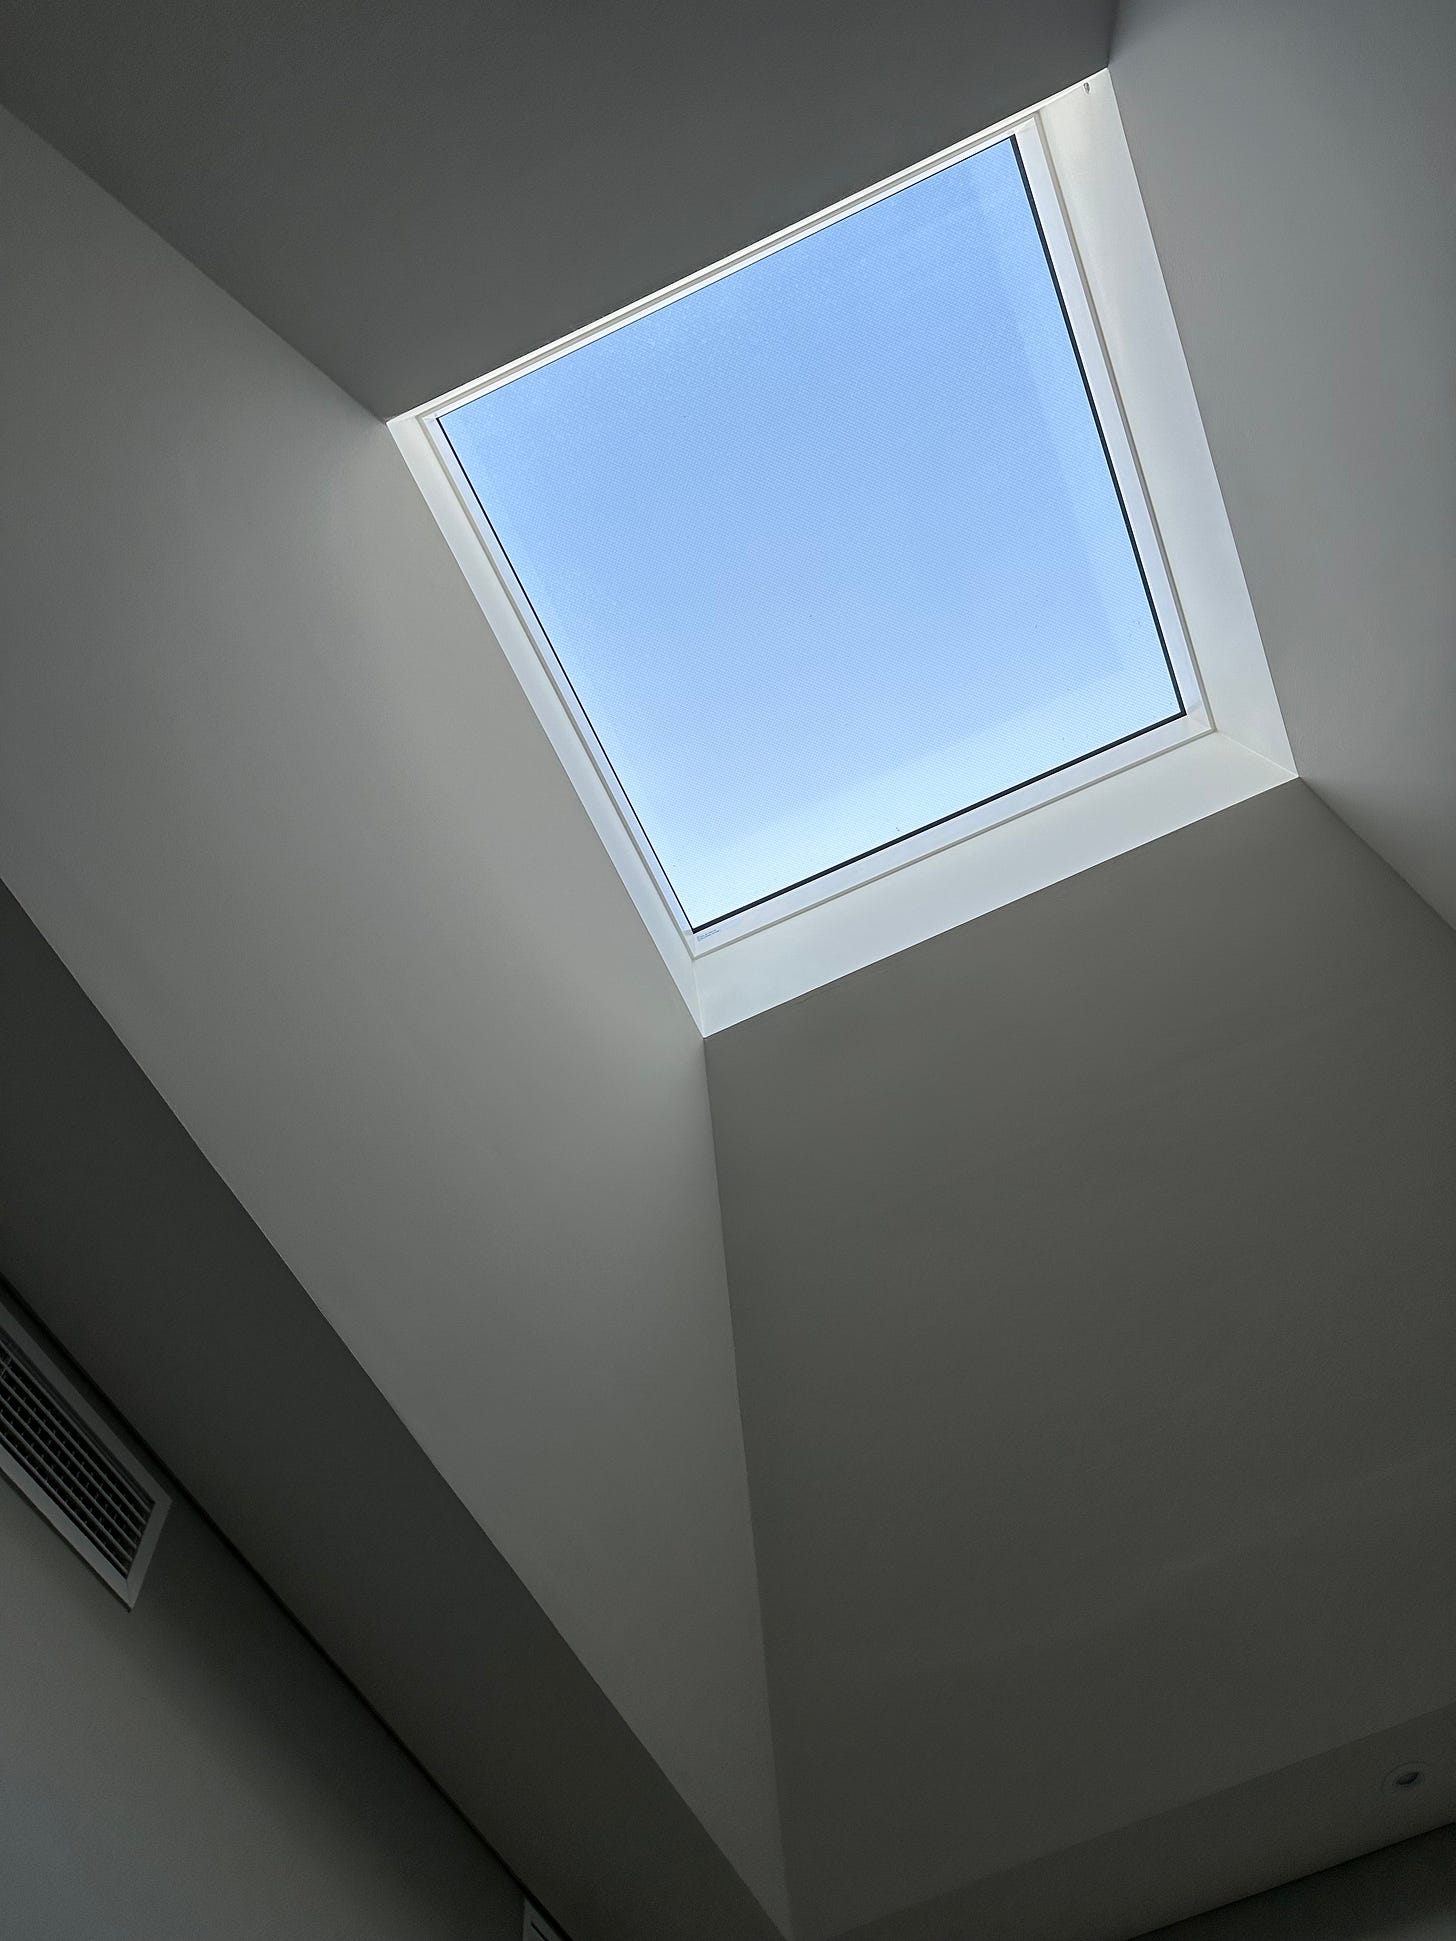
At that meeting, we reviewed a list of things that were not in his original bid. In the States, these would have been Change Orders that would have been reviewed before the work was done and included cost estimates. Though I had asked for these throughout the process I was told this is not possible and we would figure it out in the end. His list included five items (custom closets, digging the floor deeper because of underfloor heating and creating a foundation on part of two walls, installing the sliding glass bedroom door into the wall, slanting the ceiling in the office from the skylight, and installing storage with doors into the false Pombaline roof on the rooftop). These totaled €12,350. Since we had contracted directly with the bathroom fixture supplier, tile supplier, and flooring supplier we deducted the allowances in the contract (€6,060) resulting in a net additional cost of €6,290. While I would have preferred to receive Change Orders in advance, on a project of this size I thought the adjustments were quite reasonable.
In the End
We have now been in our new home for about 6 weeks. Everything is working perfectly and we are not second-guessing any of our choices. Our goal was to build a comfortable, stylish, forever home for no more than the proceeds from our home in California. Truth be told, the final price came in at the upper end of the housing market in VRSA. But it was still less than the allotted amount and we don’t intend to sell anytime soon.
Diga-me as suas histórias de renovação, boas e más, beijinhos
Nanc
If you really need to know, i.e. you are thinking of embarking on such a project, contact me. I am an open book.
Our friend will be moving into one such apartment later this year. He is currently living in the States and from time to time has asked me to snap a few photos for him of the construction site. I learned if you walk in looking like you should be there, none of the workers bother you. So I now not only do this in his apartment but have started to visit many of the others being built in town.
We did find a few buildings like that. One overlooked the river…a huge old palace on the market for just over € 1 million and requiring a € 2 million renovation budget. It was a bit above our budget. The rumor is it is being converted into 16 apartments. Another, an old manor house, on the market for €660,000 didn’t have heat. We estimated it would take at least €200,000 to renovate it…and now that we have done our project I am convinced our estimate was a bit low.


Congratulations on the completion of your beautiful home. I loved all your posts and pictures showing the progress and finished product. I was thinking about you and Denise the other day and how I admire your love of adventure, challenge and change. Thank you for sharing everything in this blog.
Insightful, como sempre! After renovating our old home in Porto (high ceilings, molded plaster etc!) the one thing that stood out above all else is that "they do it their way". The sequence would (also) drive me nutty, but "it's the way it's done". I guess we're not the ones to "improve" the system, although imho the typical/oldway of wastewater plumbing is totally archaic and really needs to be updated. As to costs, I'd say you did REALLY well (without knowing your numbers) if that was the total of over-runs and changes. Our architect/builder did give us a budget (beforehand) for each change or unforeseen-problem, so we knew how deep our hole was going to be. In the end we were about 20% over budget, but to be fair the original "budget" did not spec plumbing fixures and we did go a bit overboard there... Each change/problem by itself was quite reasonable, but then there is the total! Like you, though, once the dust had/has cleared, we're quite happy with ours, and you can be proud of what you've accomplished. Parabéns!